Save date and time as variables
The “Date and time” function lets your users easily enter a date and time to inform your chatbot about an appointment, a birth date, a desired reservation period, etc… Whether on your Web chatbot or Facebook Messenger!
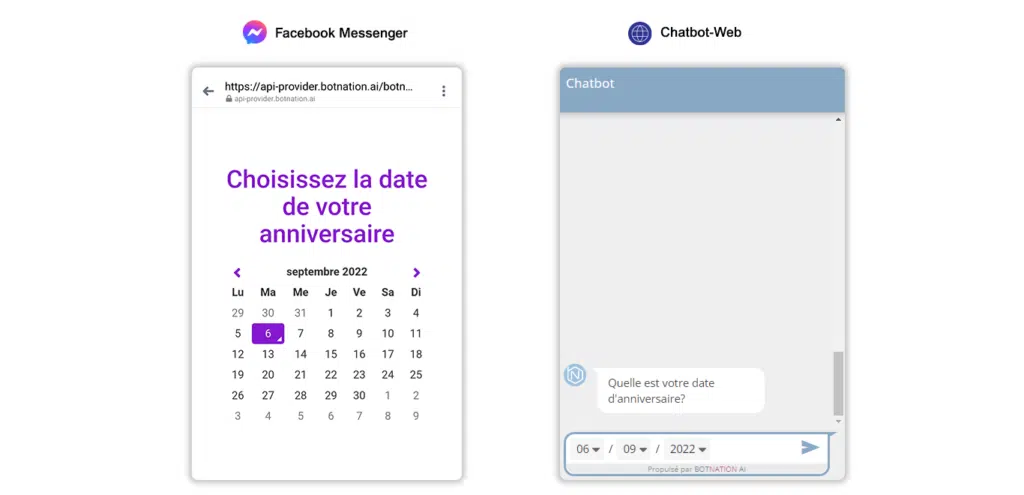
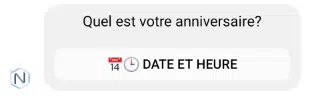
On Messenger, the “Date and Time” feature creates a pre-configured button that will open a WebView with a visual calendar.
For web chatbots, there are two ways to capture a date: with a button that opens a new tab with a visual calendar as on Messenger, or integrated directly into the chat window.
The information collected is automatically injected into variables that can be used in conditions and webhooks.
First of all, let’s clarify something you often ask us! Botnation AI has 2 types of date-related variables:
- calendar_day
- bn_date
Here, we’ll take a look at the first. To find out how bn_date works, click here!
You’d like to ask your chatbot’s user to enter a date using our calendar function. In this case, you’ll find the value of this entry under the variable {{CALENDAR_DAY}}. They are static.
In case you’d like to ask the chatbot for today’s date, follow the guide – we’ve detailed it all in this article.
1. Use for Messenger
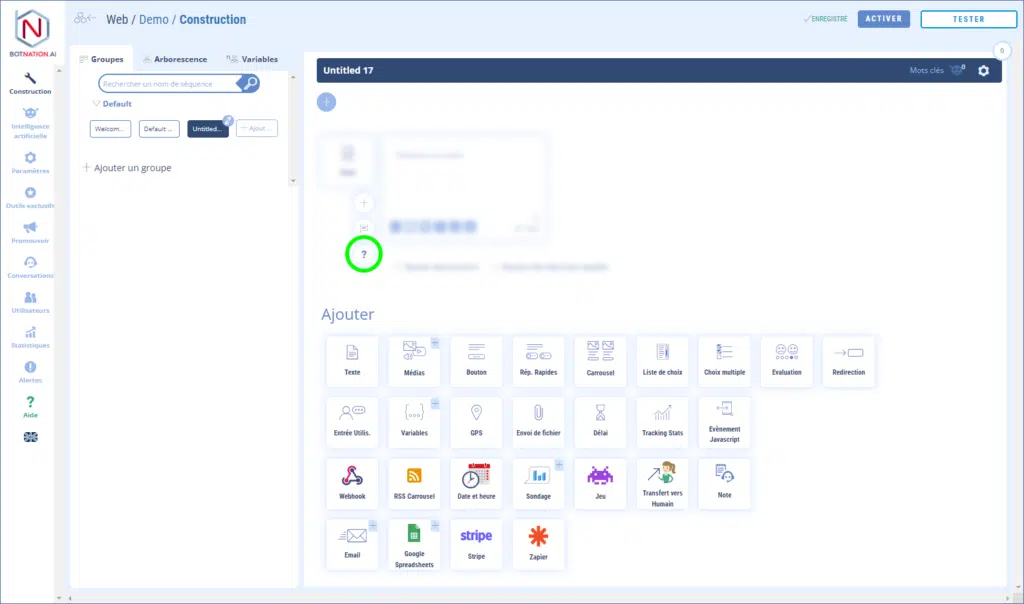
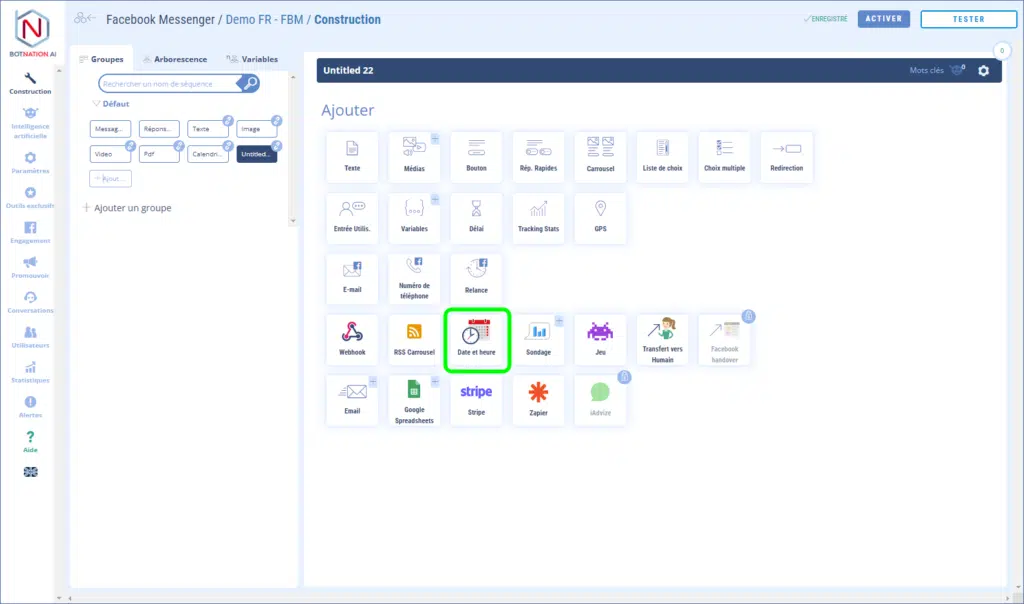
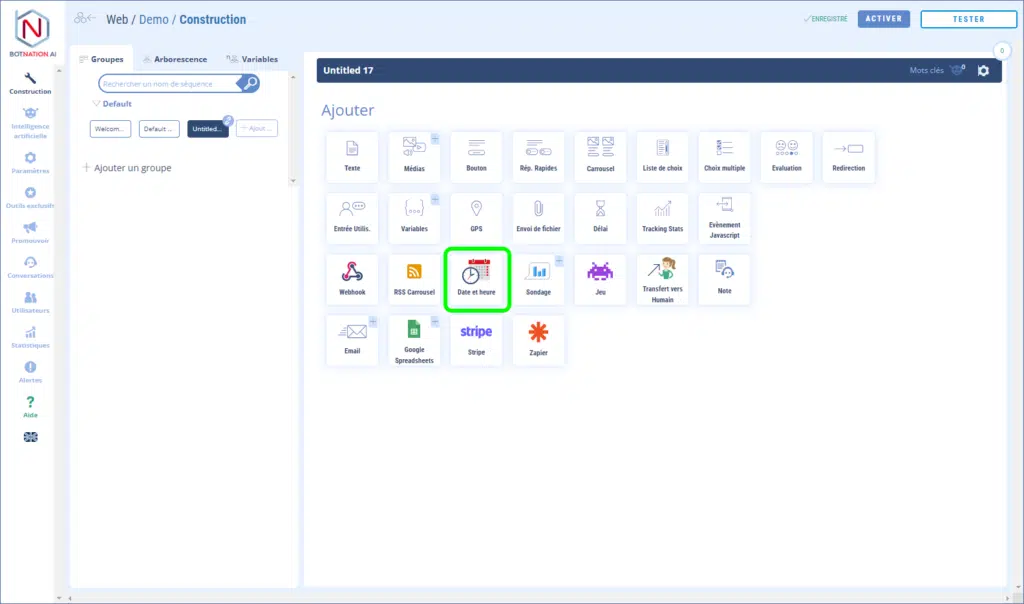
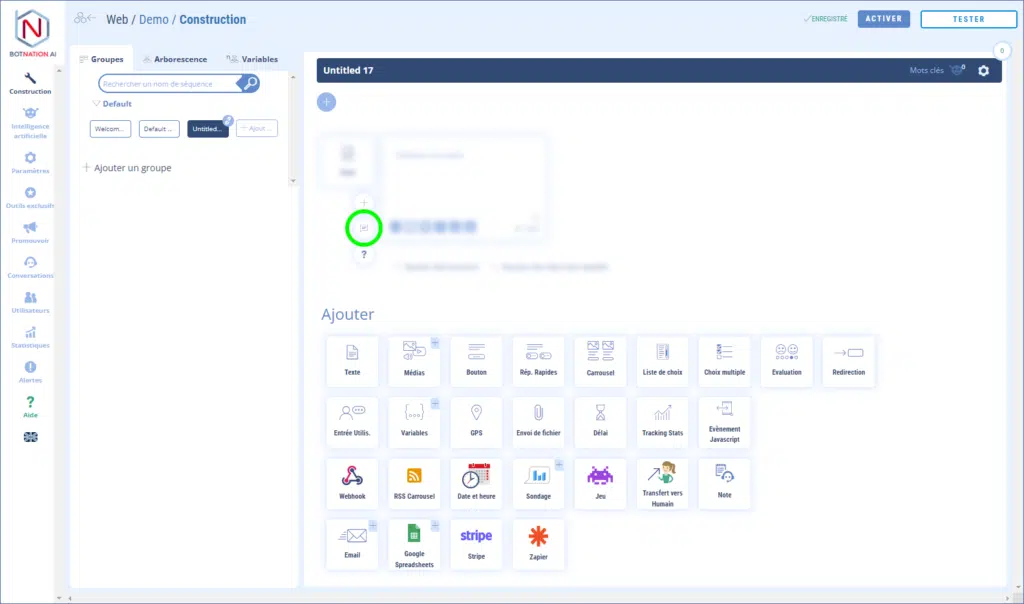
Among the construction functions, click on “Date & Time”.
This creates a pre-configured button.
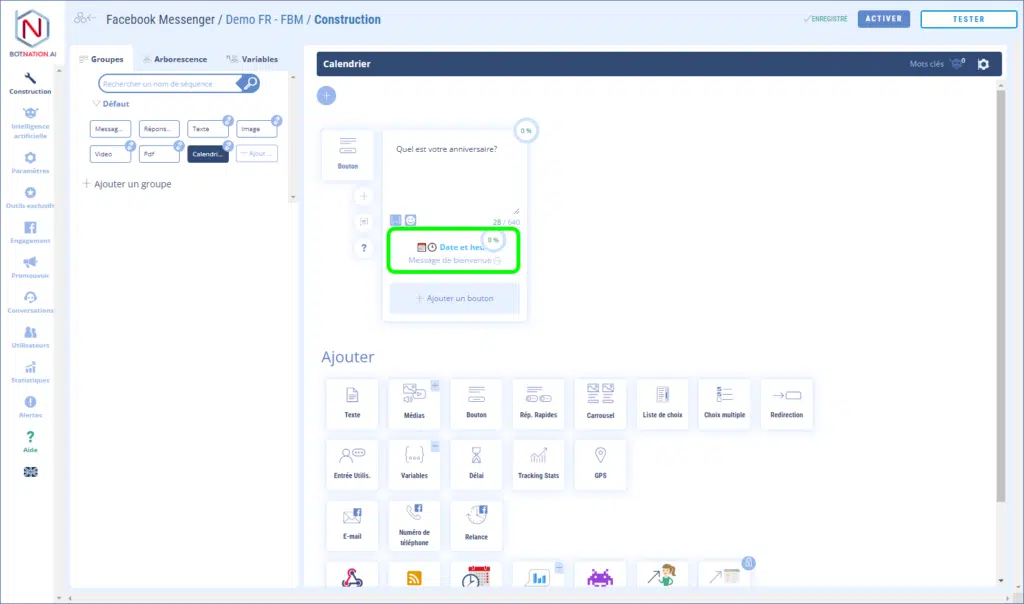
Clicking on the button title will open the button configuration panel directly to the “Date and time” tab.
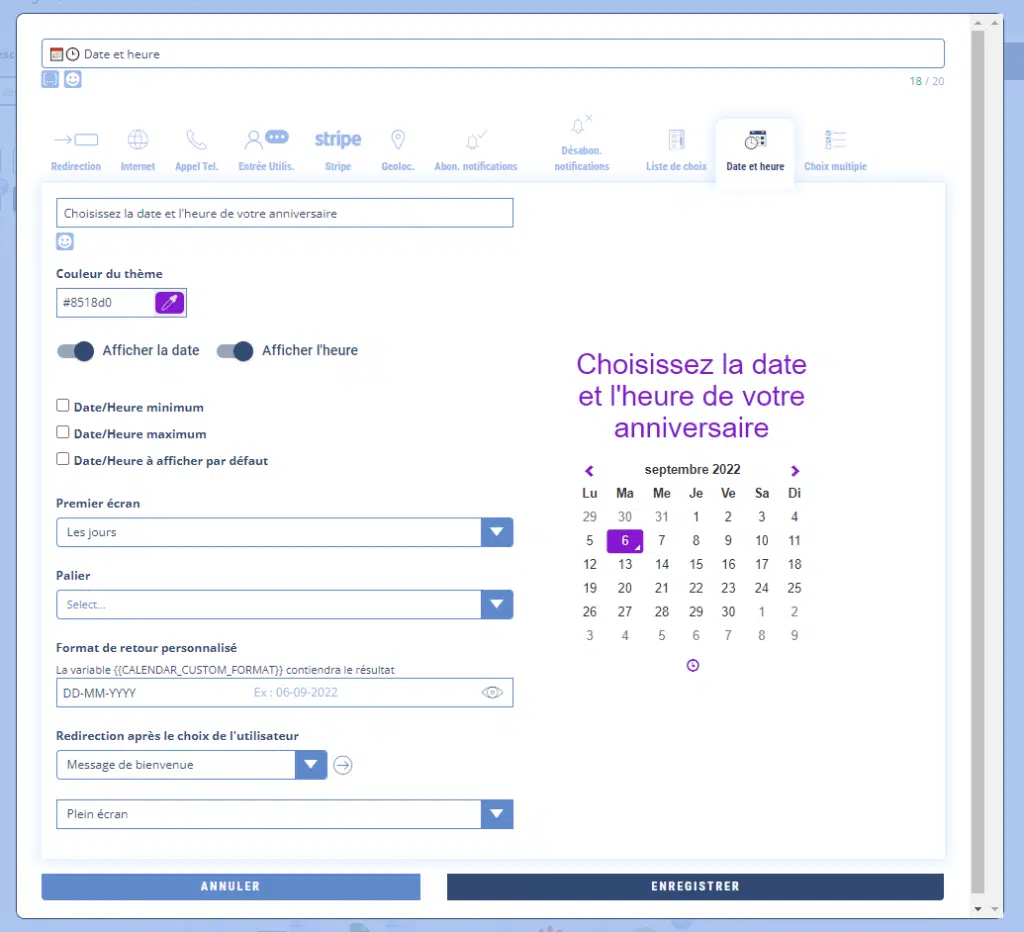
Then fill in the required fields. You can propose the date or time individually, or both on the same interface. You can also select a color to personalize this menu.
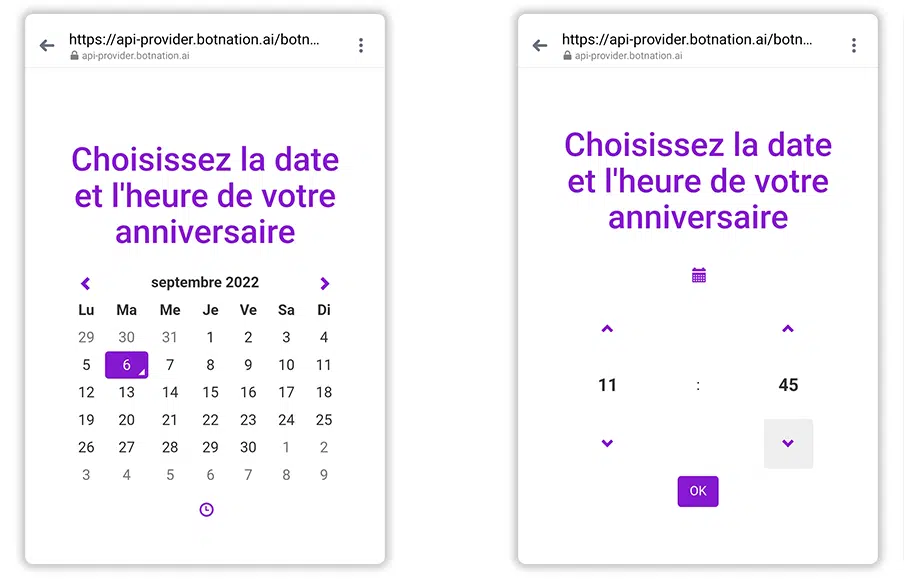
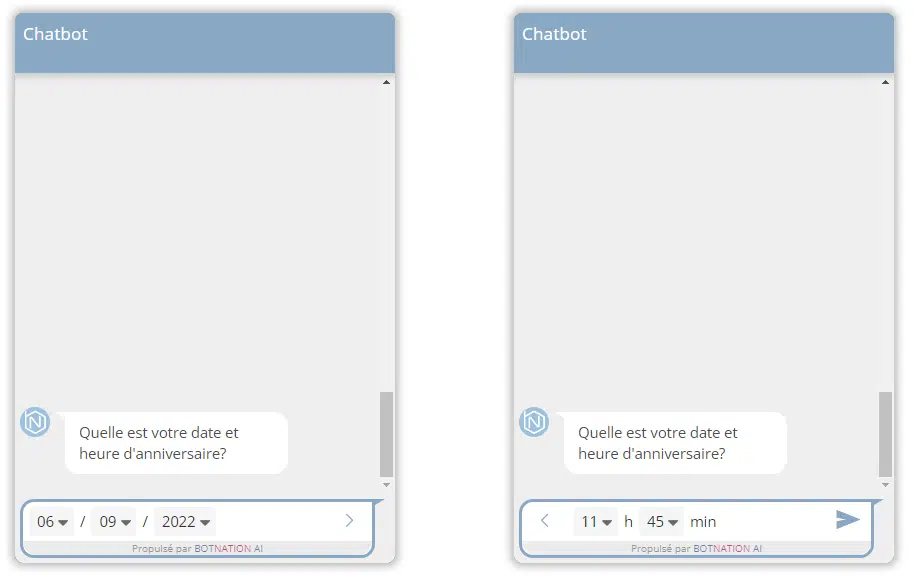
For your chatbot users, this will display a button that, when clicked, will display a WebView.
The visual interface is fluid and ergonomic, eliminating the need for your users to enter information by hand.
2. Use for Web chatbots
A. Capture date and time from a button
If you create a button and choose the “Date and time” tab in the configuration interface, the operation is exactly the same as for Messenger. This will create a button which, when clicked, will open a new tab in the browser with the visual date and time capture interface.
B. Capture date and time using the “Date and time” function
Among the construction functions, click on “Date & Time”.
Then fill in the required fields. You can propose the date or time individually, or both on the same interface.
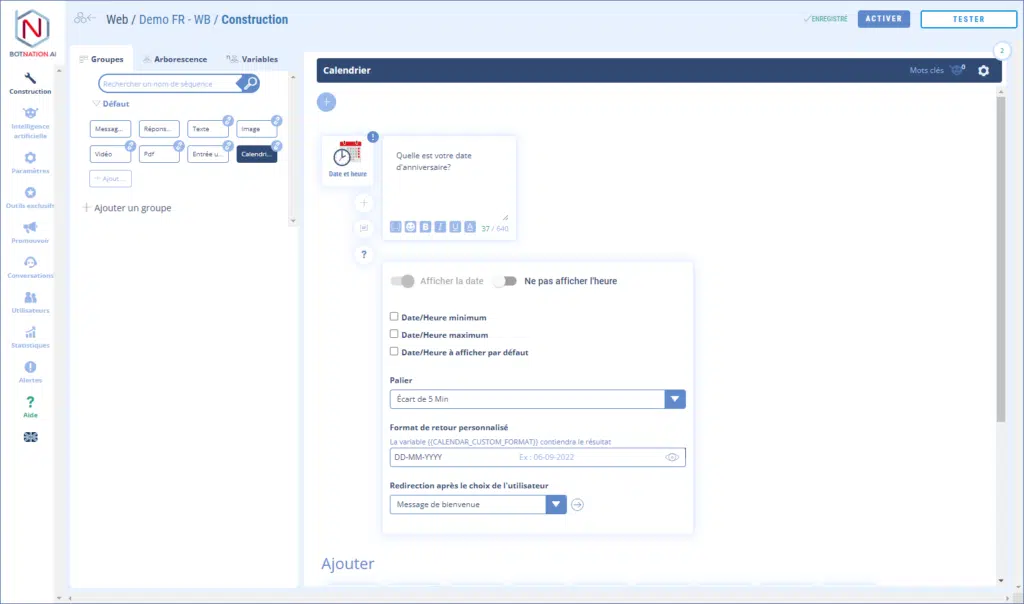
Your users can enter the date and time directly in the chatbot window, in the conversation flow.
ATTENTION
This feature can only be placed at the end of a sequence.
3. Collected variables
The dates and times collected are available in “Date entry” variables:
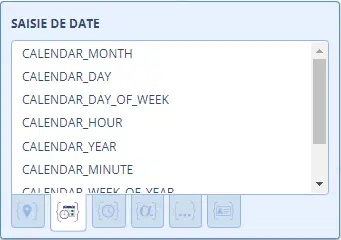
The number of the day: {{CALENDAR_DAY}}
The month number: {{CALENDAR_MONTH}}
The year: {{CALENDAR_YEAR}}
Time: {{CALENDAR_HOUR}}
The minutes: {{CALENDAR_MINUTE}}
The day of the week (from 1 (Sunday) to 7 (Saturday) ): {{CALENDAR_DAY_OF_WEEK}}
The number of the week (1..52): {{CALENDAR_WEEK_OF_YEAR}}
Timestamp date format: {{CALENDAR_TIMESTAMP}}
4. Options
A – You can leave your colleagues a comment about this feature by clicking on the icon (see below).
See article : Adding comments
B – By clicking on the “?” icon, the online help will open on the article corresponding to this feature.