
Allow your users to send you a file.
You can add this feature in several ways.
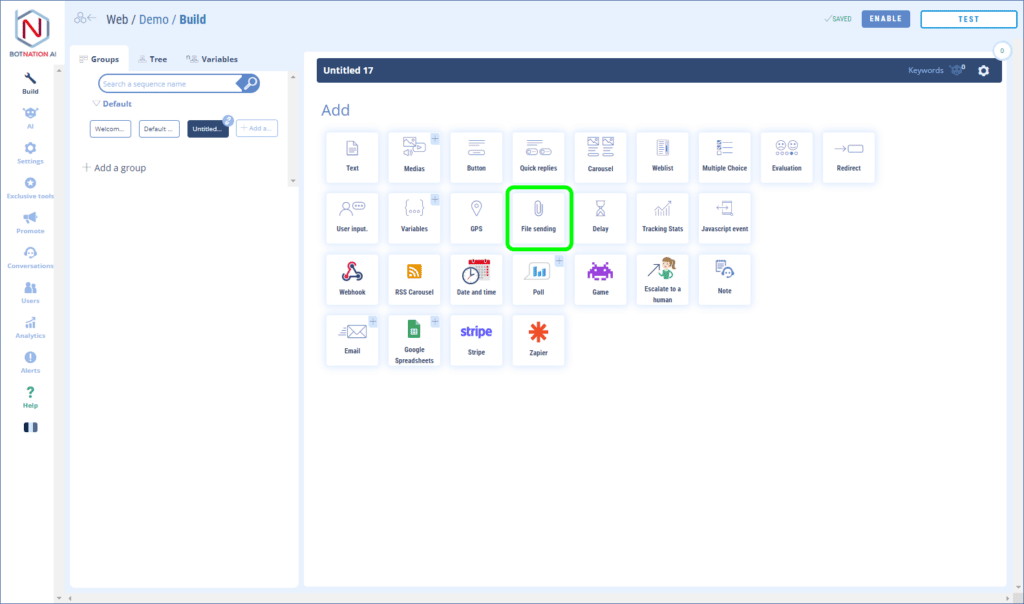
1. Enable file reception
You can enable file reception in the chatbot’s configuration settings.
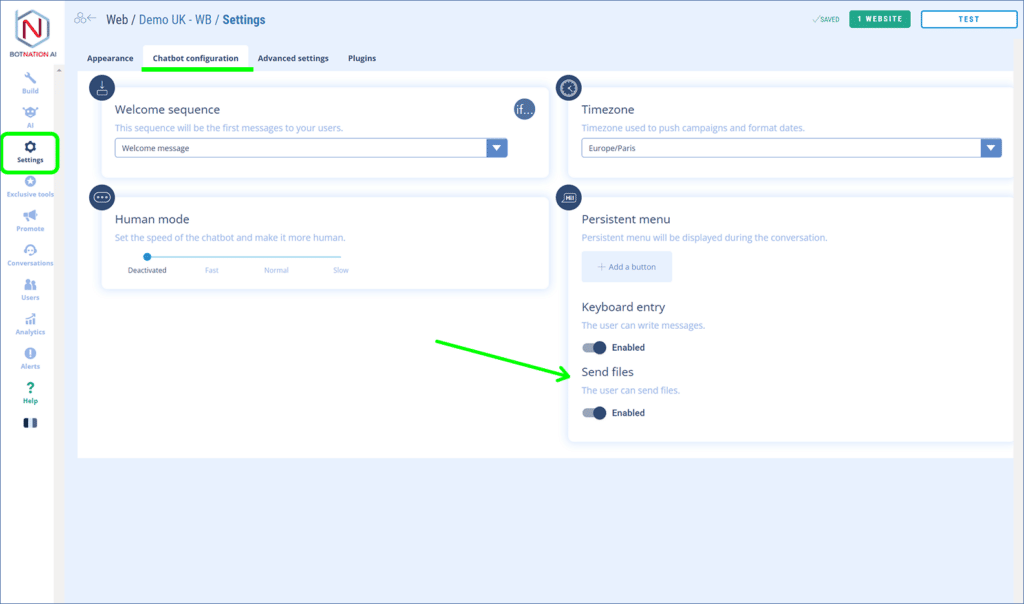
This will add an icon to the response area.
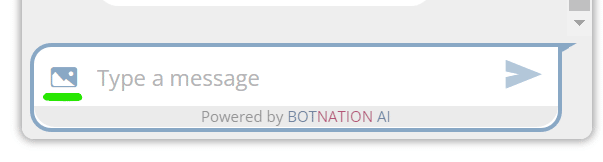
By clicking on the icon the user will open the file explorer of his computer and will be able to choose the file to send to the chatbot.
This icon can be accessed at any time in the conversation.
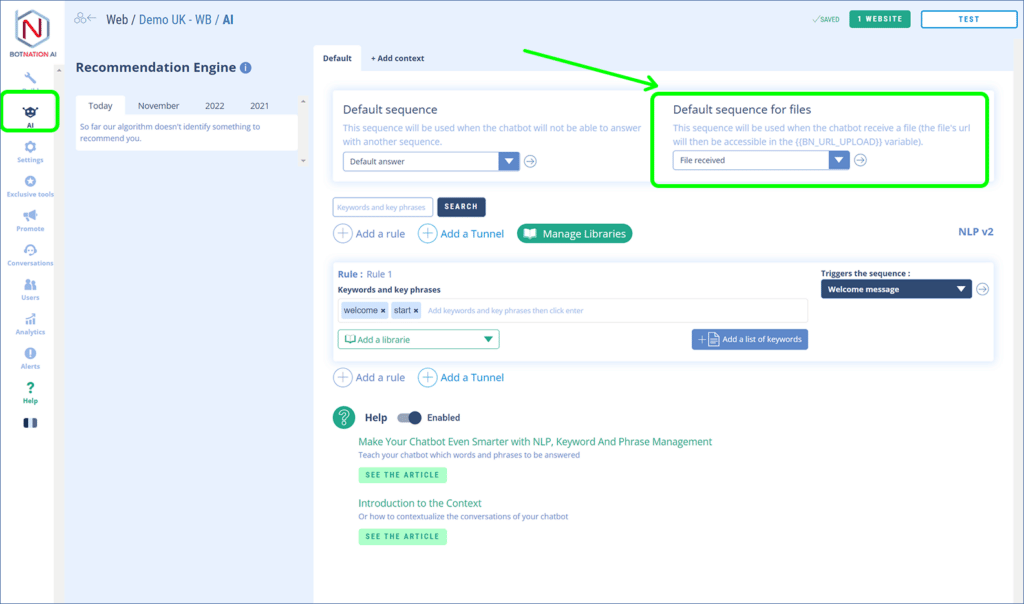
ATTENTION
When you activate the file reception, you have to create the sequence that will be triggered after the reception and configure it in the Artificial Intelligence tab.
2. Quick Reply to send a file
If you don’t want the file sending to the chatbot to be active all the time, you can use a Quick Reply in a specific sequence.
There are two ways to do this:
By creating a Quick Reply with the “Send File” action.
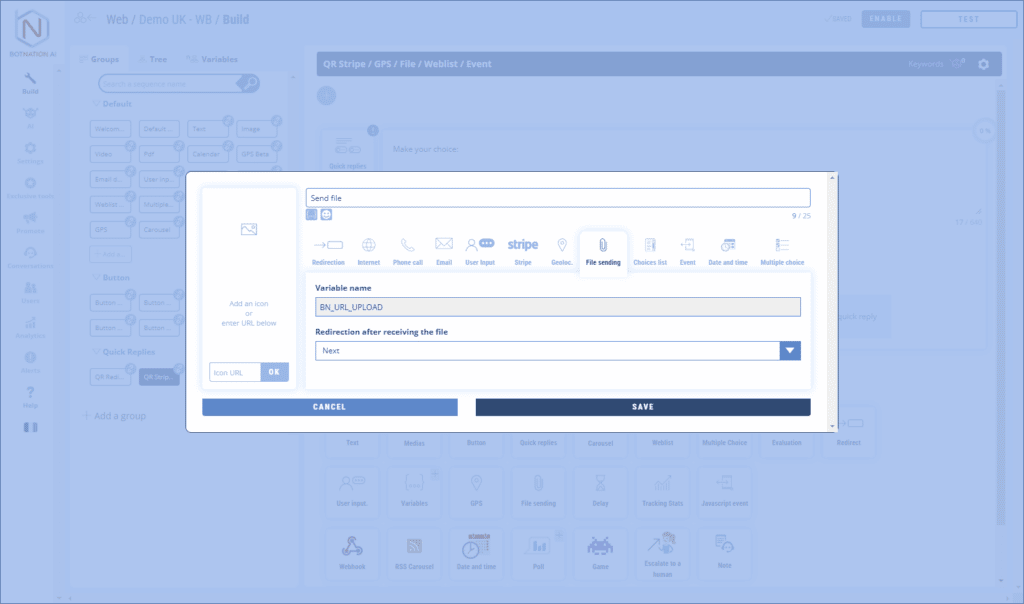
Or by clicking on the “Send File” icon among the other features.
This will automatically create a Quick Reply with the “Send File” action pre-selected.
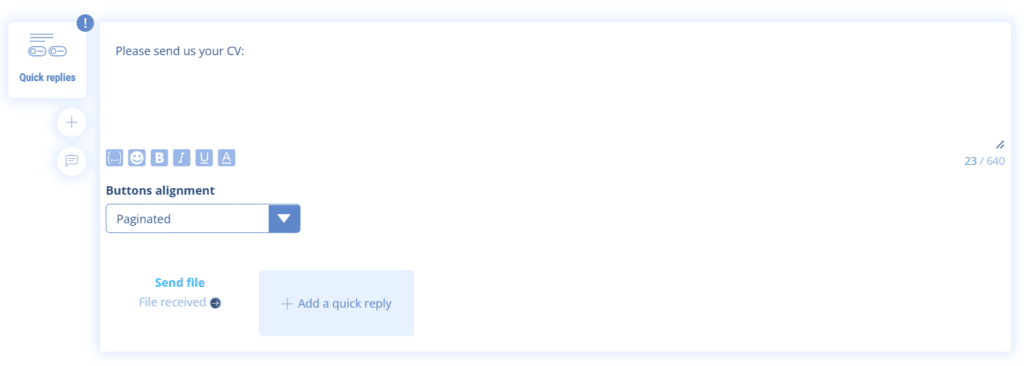
When the Quick Reply is clicked, the file explorer will open. The user will be able to choose the file to send to the chatbot.
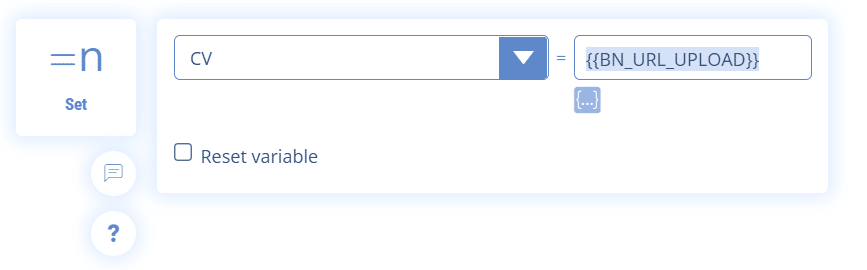
3. Receiption of files
The URL of the sent file will be stored in the variable {{BN_URL_UPLOAD}}
TIP
If you plan to retrieve multiple files from the same user, consider saving the URL in different variables.
All received files are accessible in the “Users” tab in the “Received files” sub-heading.
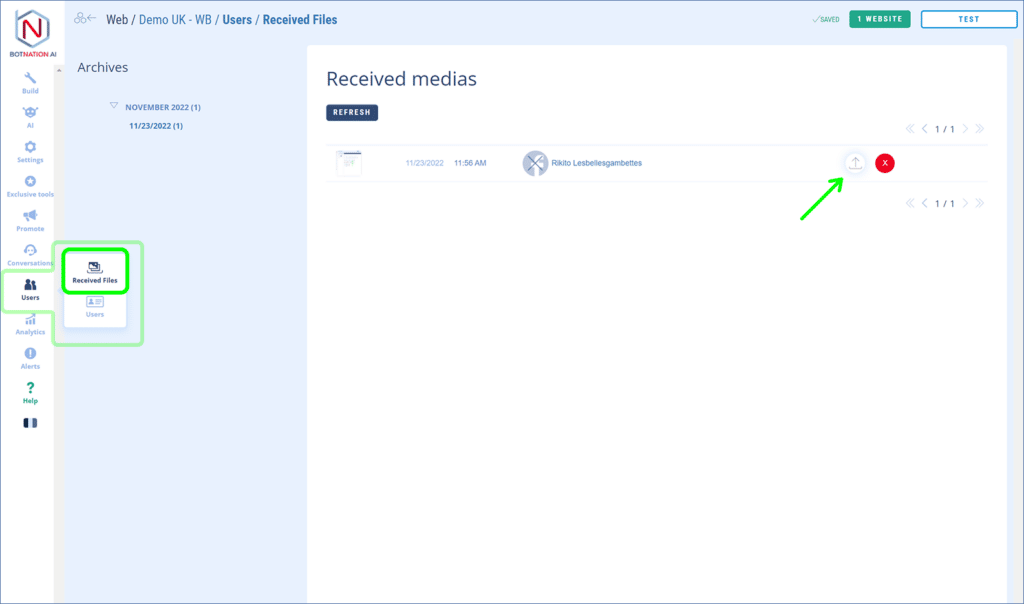
Received files are sorted by date received and by user. You can download and/or delete them by clicking on the corresponding icon.