Your BOTNATION bot collects data that you want to export using Zapier.
Once your chatbot is up and running, you can make it even more powerful by connecting it to any external system and triggering an action with the Zapier plugin!
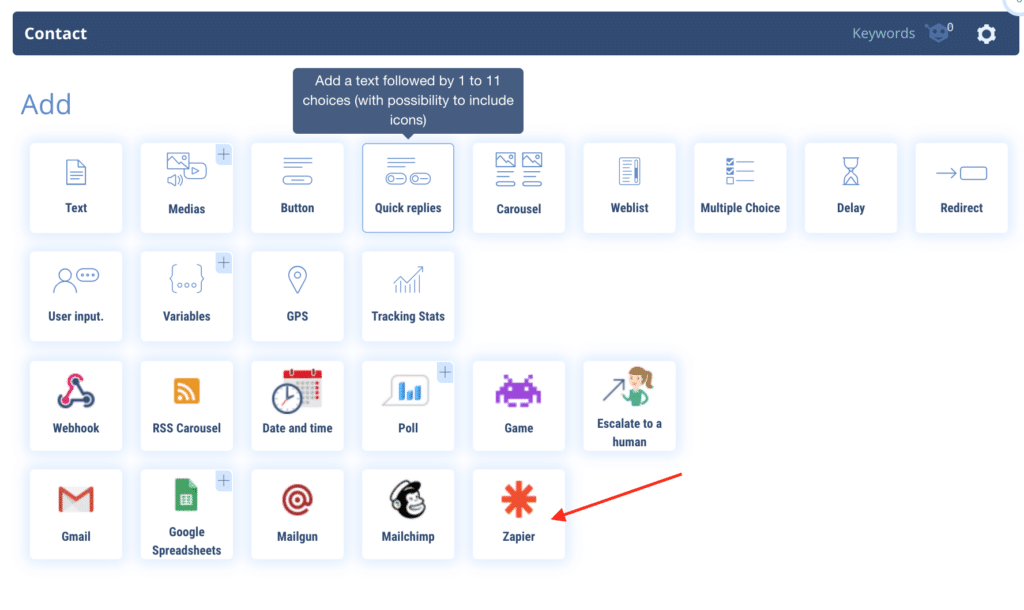
To activate it, select the Zapier feature on the Botnation interface
Select (add) the variables you want to export to Zapier
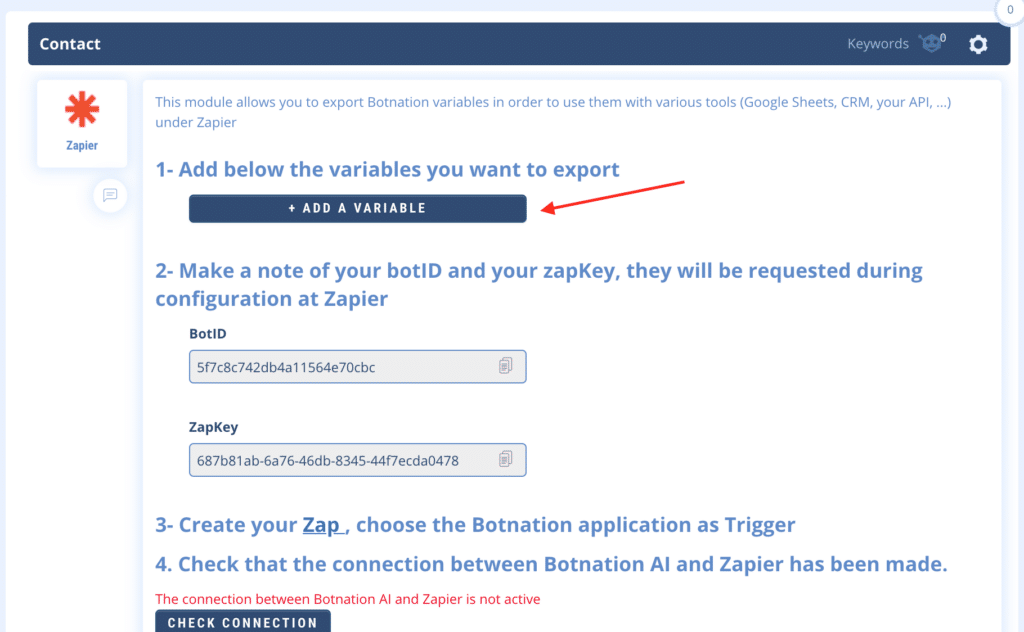
Keep in mind that you will have to retrieve the information (BotID and ZapKey) a little later at Zapier.
Click on “Create your Zap”, this will open Zapier directly on the Private Application Botnation invitation on Zapier.
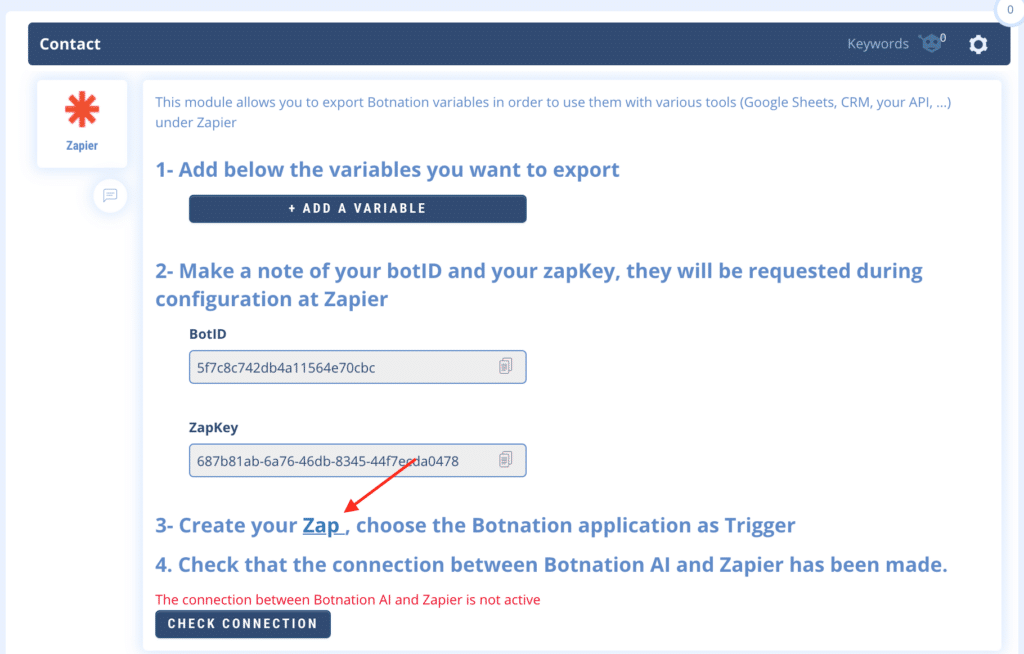
Here is the link to the BOTNATION Private Zap at ZAPIER:
https://zapier.com/developer/public-invite/117500/58ecdb971285318b1886e1034ffc7715/
On this Zap, Accept the invitation on Zapier

On the general interface of Zapier, you can then create a new Zap (“Make a Zap”)

Choose the Zapier Application “Botnation”, either by searching for it or from the access list.

The configuration is in 4 quick steps at Zapier that we will detail:
- 1/ Choose the Event Botnation (“Choose App & Event”)
- 2/ Select your Botnation chatbot (“Choose Account”)
- 3/ Select the variables you want to export to Zapier (“Customize Variable”)
- 4/ Validate these variables (“Find Data”)

1/ Select the Event (trigger) “Export Variables”, the objective being to export variables dynamically from Botnation to Zapier.

2/ Select your Botnation account from the drop-down menu. This is the association with your Chatbot.

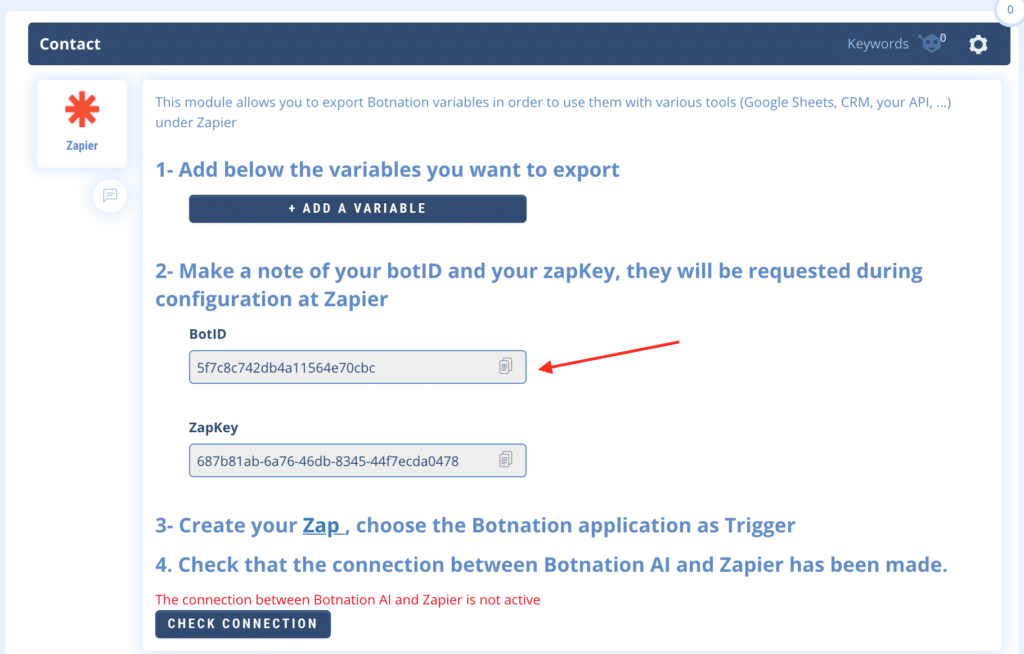
This is theoretically the first on the list if you have a single Botnation chatbot associated with Zapier. If you have many chatbots this will correspond to the BotID indicated above on the Botnation interface.
Then validate on Zapier by clicking on “Continue”.

VERY IMPORTANT: Then enter (paste) the “Zapkey” indicated on Botnation into the “Zapkey” field on Zapier. This is what will allow Botnation to transmit data to your Zapier account.

For the record, the “Zapkey” is located on the Botnation interface and a tool to easily copy it is available on its right.
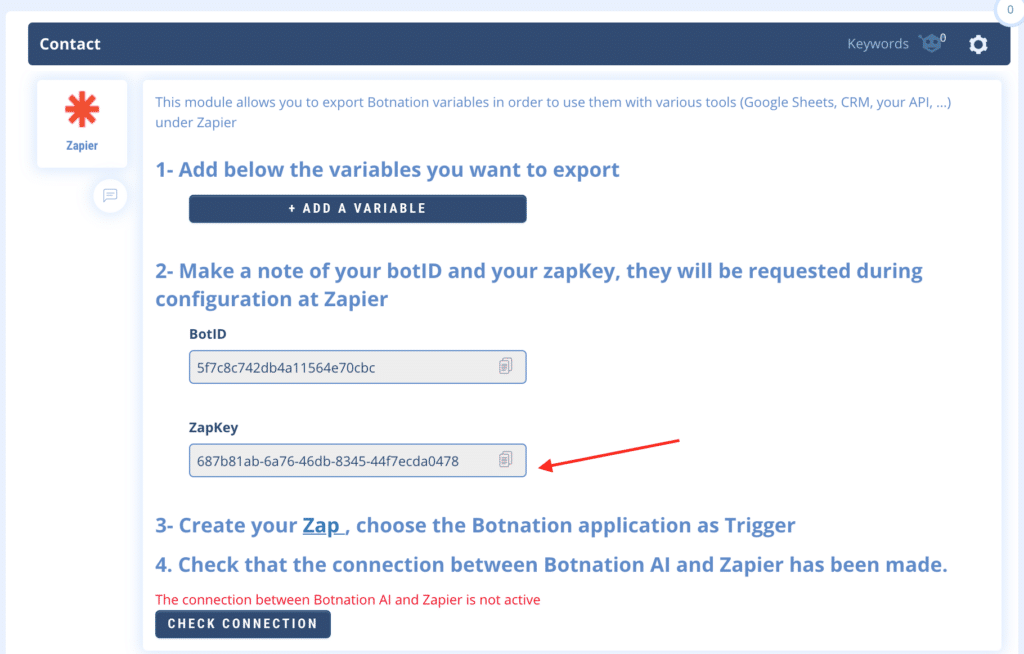
Then click on “Continue” at Zapier.
3/ Bravo ! The most complicated part is already done 😉
Now you have to check that the connection between Zapier and Botnation is valid and automated by clicking on “Test Trigger” in Zapier. Zapier will simulate a user action to retrieve the name of your variables.

You can also check this connection on Botnation through the equivalent “Check Connection” function of your Zapier.
The message must go from red to green!
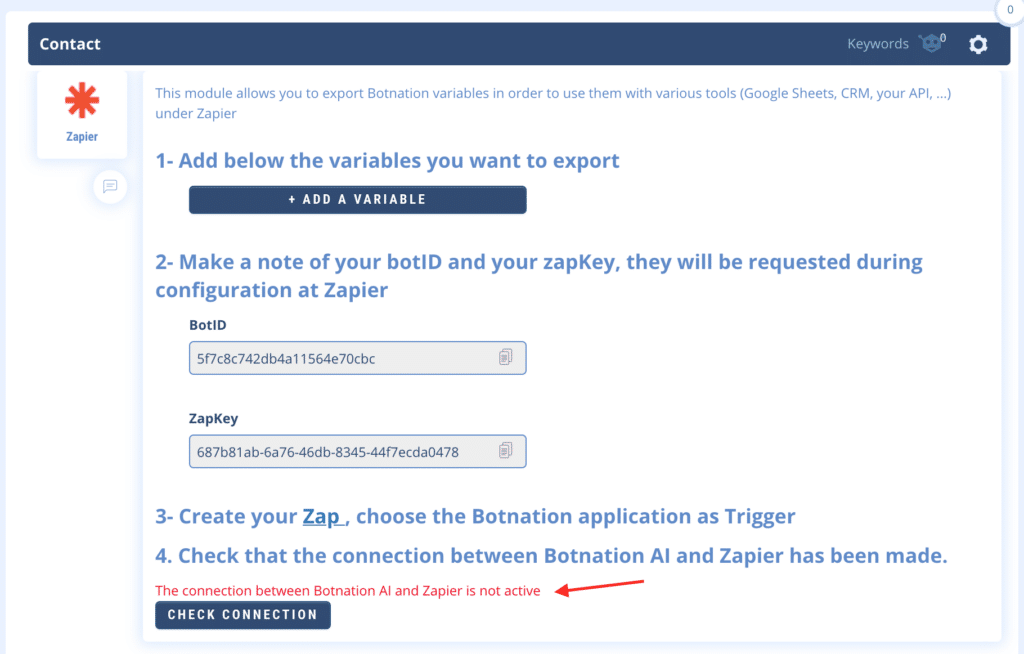
4/ Magic! The variables of your Botnation chatbot will then appear on the Zapier interface. All you have to do is click on “Continue”.

AND THERE IT IS!
Botnation and Zapier are then connected “in real time”. At each step your chatbot calls the Zapier function, Botnation will automatically send the data to Zapier.
You can then choose a second Zapier app from the 2000 available applications that can use this Botnation data.
As an example, here is the illustration with a Zap exporting these data in a customer relationship application.
The Botnation variables are available to send in real time in this CRM tool.

All you have to do is validate this second action.

and activate your Zap!

You can then test your chatbot and collect thousands of contacts and leads.
Some useful complements:
- Once your Botnation Zap is active, if you want to export additional variables, you will have to indicate them on the Botnation side but also edit the Zap on the Zapier side (steps 3 and 4) as you did when creating the Zap so that Zapier will authorize the reception of these variables. Attention: to edit a Zap in Zapier you must first pause it if it is active.
- If you duplicate a Zap Botnation at Zapier to modify it, the source zap will no longer receive the data because Zapier will use the authorization (ZapKey) to feed the second zap and not the first.
