
Cet article va vous permettre d’installer et de configurer notre module web afin de publier votre bot.
1. Création du projet web
Avant toute chose, il vous faut créer un projet Web. Pour cela :
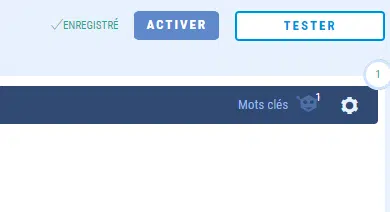
- Cliquez en haut à droite de l’interface de votre chatbot sur le bouton Activer. La liste de vos sites web va alors apparaître. Pour le moment, cette liste est vide.
- Cliquez ensuite sur le bouton Ajouter un site web.
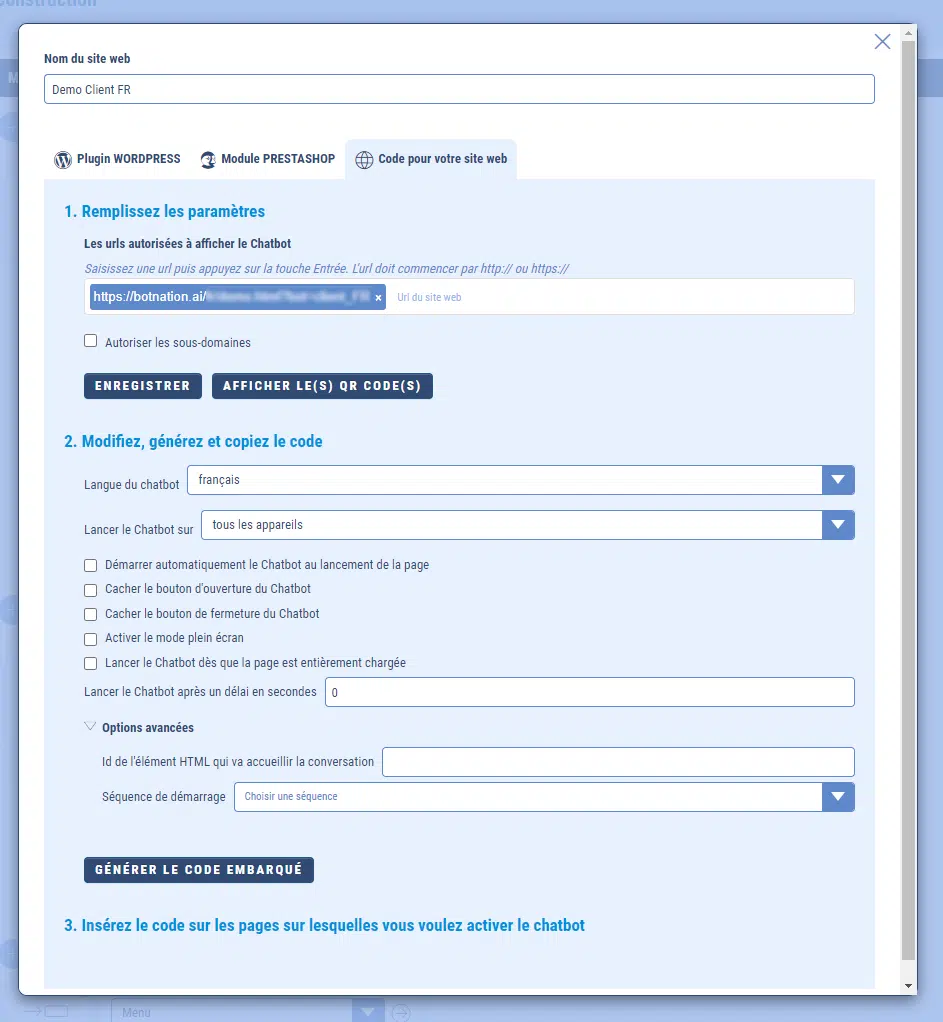
- Dans la fenêtre qui apparaît, vous devez renseigner :
Nom du site web : Renseignez un nom assez explicite pour que vous retrouviez facilement votre site web dans la liste.
Url du site web : Renseignez l’adresse complète de votre site web. Par exemple http://monsiteweb.com. Ce champ est important car votre chatbot ne fonctionnera que sur cette adresse.
N.B : Si votre site est accessible en http ET en https, ne vous inquiétez pas, le chatbot fonctionnera sur les deux adresses.
Autoriser les sous-domaines (option facultative) : Vous pouvez activer cette option si vous souhaitez que votre chatbot soit accessible sur plusieurs sous domaines.
Par exemple, si votre site est accessible aux adresses http://monsiteweb.com et http://www.monsiteweb.com vous devrez renseigner http://monsiteweb.com dans le champ Nom du site web et cocher la case Autoriser les sous-domaines.
Validez enfin le formulaire en cliquant sur le bouton « Enregister ».
N.B : Vous pourrez à tout moment modifier ces champs en cliquant sur l’icône « engrenage » dans la liste de vos projets web.
2. Intégration du code javascript sur votre site web
Si vous utilisez un site wordpress, vous pouvez vous référer à cette documentation.
Cliquez sur le bouton « Générer le code embarqué«
Dans la fenêtre de configuration de votre site web, récupérez le code javascript à intégrer :
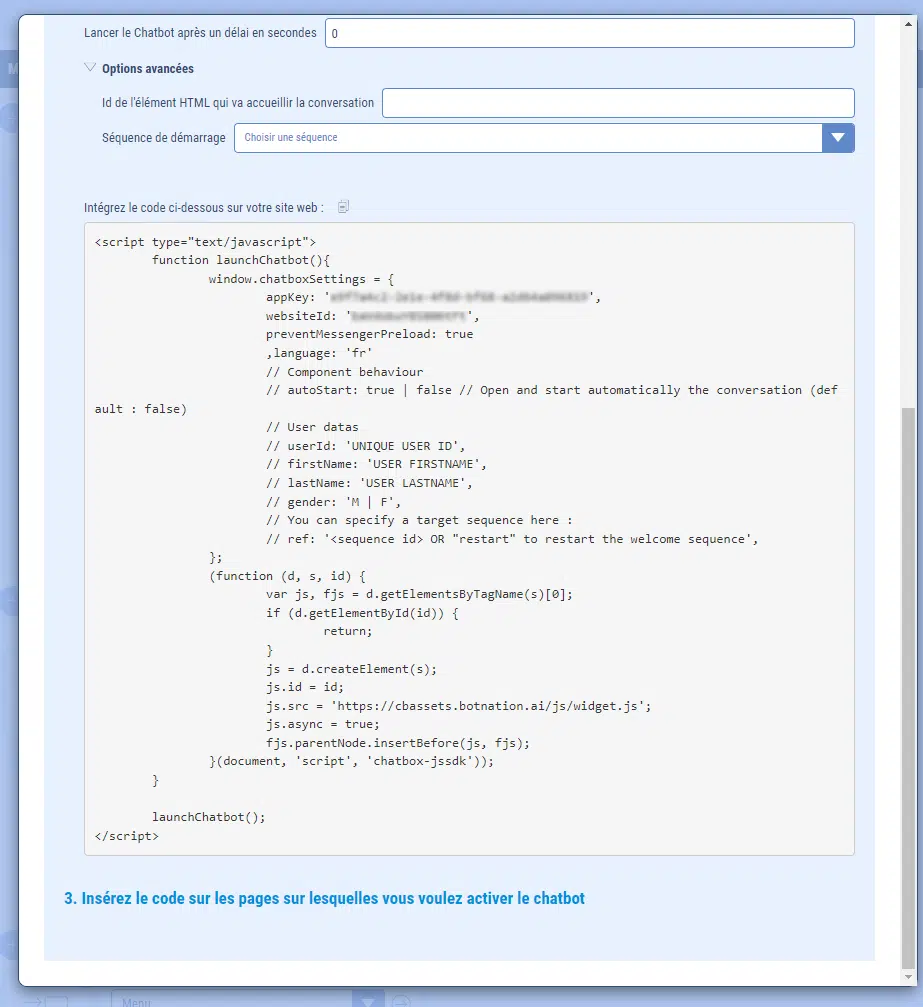
Copiez ce code en fin de balise <body> sur votre site web.
<script type="text/javascript">
	window.chatboxSettings = {
		appKey: 'XXXXXXXX',
		websiteId: 'XXXXXX',
		language: 'fr',
		// Component behaviour
		// autoStart: true | false // Open and start automatically the conversation (default : false)
		// User datas
		// userId: 'UNIQUE USER ID',
		// firstName: 'USER FIRSTNAME',
		// lastName: 'USER LASTNAME',
		// gender: 'M | F',
		// You can specify a target sequence here :
		// ref: '<sequence id> OR "restart" to restart the welcome sequence',
	};
	(function (d, s, id) {
		var js, fjs = d.getElementsByTagName(s)[0];
		if (d.getElementById(id)) {
			return;
		}
		js = d.createElement(s);
		js.id = id;
		js.src = 'https://cbassets.botnation.ai/js/widget.js';
		js.async = true;
		fjs.parentNode.insertBefore(js, fjs);
	}(document, 'script', 'chatbox-jssdk'));
</script>
La configuration du plugin se fait dans l’objet window.chatboxSettings. Voici la liste des paramètres disponibles :
Paramètres obligatoires (ne pas modifier)
- appKey (obligatoire) : Ne pas modifier la valeur qui est fixée dans le code à intégrer.
- websiteId (obligatoire) : Ne pas modifier la valeur qui est fixée dans le code à intégrer.
Paramètres de personnalisation du visiteur de votre site
- language : Le code langue (sur 2 caractères).
- userId : Un identifiant unique de l’utilisateur de votre site web. Si le visiteur revient plus tard sur votre site, il retrouvera la conversation qu’il a eu avec le chatbot et toutes les variables associées. Cette valeur pourra être utilisée dans le chatbot via la variable {{USERID}}.
- firstName : Le prénom du visiteur. Cette valeur pourra être utilisée dans le chatbot via la variable {{FIRSTNAME}}.
- lastName : Le nom de famille du visiteur. Cette valeur pourra être utilisée dans le chatbot via la variable {{LASTNAME}}.
- gender : Le sexe (genre) du visiteur (valeurs possibles : ‘M’ ou ‘F’). Cette valeur pourra être utilisée dans le chatbot via la variable {{GENDER}}.
- externalDatas: Un objet contenant des variables personnalisées. Vous pourrez retrouver ces variables dans le chatbot via les variables externes.
externalDatas: {
   maVariable1: 'mavaleur',
   maVariable2: 2
}
Il vous suffit ensuite de les déclarer dans votre Chatbot sous Paramètres > Paramètres avancés > Variables externes

Vous pourrez alors injecter ces variables dans vos textes / conditions.
Paramètres de démarrage du chatbot
- autoStart : Permet au module de s’ouvrir automatiquement pour les nouveaux visiteurs. Valeurs possibles : true (oui) ou false (non)
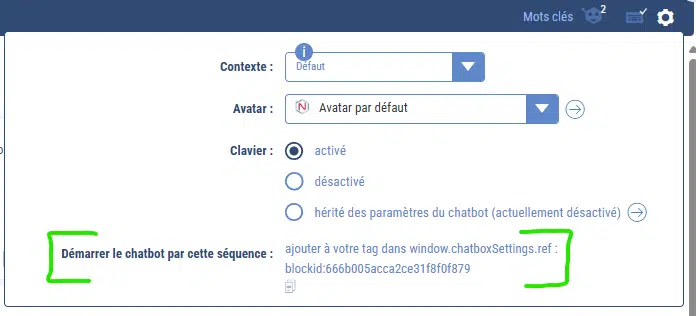
- ref : Permet de démarrer le chatbot sur une séquence particulière ou sur la séquence par défaut à chaque fois qu’un visiteur arrive sur une page de votre site. Pour démarrer sur la séquence par défaut, renseignez ce paramètre avec ‘restart’. Pour démarrer sur une séquence spécifique, renseignez la valeur indiquée dans les paramètres de la séquence (sur l’interface de votre bot)
Paramètres avancés du module web
- messengerOnly : Permet de ne pas afficher la bulle d’ouverture / fermeture du chat. Valeurs possibles : true (mode fullscreen) / false (par défaut).
- hideLauncher : Identique à messengerOnly (à coupler avec hideCloseButton).
- hideCloseButton : Permet de ne pas afficher la croix pour fermer le chat en mode fullscreen / mobile. Valeurs possibles : true / false.
- containerId: Permet d’afficher le module dans une balise existante. Doit correspondre à un id d’élément.
- container: Permet d’afficher le module dans une balise existante. Doit correspondre à un élément HTML, un élément jQuery ou un sélecteur jQuery.
- fullscreen: Permet d’activer le mode fullscreen. Valeurs possibles: true / false.
- silentMode: Permet de passer en mode silencieux, c-a-d qu’il vous faudra gérer l’ouverture et la fermeture du chat manuellement en JS.
- onEvents: Cela vous permet d’interagir avec votre site web ou SI en provenance de la fonction « Evènement Javascript » du Messenger Web de Botnation. En savoir plus.
window.chatboxSettings = {
   onEvents: function(eventName, eventArgs) {
      // Les paramètres sont définis dans le bouton évènement de votre bot
      // eventName = "le nom de l'évènement"
      // eventArgs = {arg1: "val1", arg2: "val2"}
   }
}
3. Interagir avec le messenger
Vous pouvez interagir avec le messenger web pour :
- ouvrir / fermer le chat
- mettre à jour des variables utilisateur
- rediriger l’utilisateur vers une séquence de votre chatbot
Pour cela il vous faut d’abord récupérer le widget une fois que celui ci est prêt :
<script type="text/javascript">

    // On déclare la variable
    var botnationWidget;

    window.document.addEventListener('botnation.widget.ready', function() {
        // Lorsque le widget est prêt, on le récupère dans notre variable
        console.log("widget is ready");
        botnationWidget = window.BNAI; // save botnation widget instance
    });

</script>
Vous pouvez ensuite appeler les fonctions adéquats sur l’objet botnationWidget :
<script type="text/javascript">
    // On ouvre le chat
    botnationWidget.openChat();

    // On ferme le chat
    botnationWidget.closeChat();

    // On met à jour une variable utilisateur
    botnationWidget.setUserVariable("ma_variable", "la valeur", function callback(result) {
        // Une fonction appelée lorsque la mise à jour a été effectuée
        // Le paramètre result est à true si la mise à jour a été effectuée, à false sinon.
});

    // On redirige l'utilisateur vers une séquence du chatbot
    // Le paramètre blockId correspond à un ID de bloc (que vous trouverez dans le titre de votre séquence, comme pour le paramètre de démarrage 'ref')
    botnationWidget.sendRedirectToBlock("blockid", function callback(result) {
        // Une fonction appelée lorsque la redirection a été effectuée
        // Le paramètre result est à true si la redirection a été effectuée, à false sinon.
});

    // On redirige l'utilisateur vers un terme déclenchant une règle AI
    botnationWidget.sendRedirectToAiRule("keyword", function callback(result) {
        // Une fonction appelée lorsque la redirection a été effectuée
        // Le paramètre result est à true si la redirection a été effectuée, à false sinon.
});
</script>
4. Exemple du mode silencieux
<html>
    <head>
        <meta charset="UTF-8">
        <meta name="viewport" content="width=device-width, initial-scale=1.0">


        <script type="text/javascript">
            var botnationWidget;
            function openChat() {
                if (!botnationWidget) return console.error("botnation widget is not ready");

                console.log("BNAI is ready", botnationWidget);
                botnationWidget.openChat(document.getElementById("container"));
            }
            function closeChat() {
                if (!botnationWidget) return console.error("botnation widget is not ready");

                console.log("BNAI is ready", botnationWidget);
                botnationWidget.closeChat();
            }
            window.document.addEventListener('botnation.widget.ready', function() {
                console.log("widget is ready");
                botnationWidget = window.BNAI; // save botnation widget instance
            });
            window.document.addEventListener('botnation.chat.opened', function() {
                console.log("le chat est ouvert");
            })
            window.document.addEventListener('botnation.chat.ready', function() {
                console.log("le chat est prêt");
            })
            window.document.addEventListener('botnation.chat.closed', function() {
                console.log("le chat est fermé");
            })
    window.chatboxSettings = {

        appKey: 'XXX',
        websiteId: 'XXX',

        silentMode: true,
        hideCloseButton: true,
    };
    (function (d, s, id) {
        var js, fjs = d.getElementsByTagName(s)[0];
        if (d.getElementById(id)) {
            return;
        }
        js = d.createElement(s);
        js.id = id;
        js.src = 'https://cbassets.botnation.ai/js/widget.js';
        js.async = true;
        fjs.parentNode.insertBefore(js, fjs);
    }(document, 'script', 'chatbox-jssdk'));
</script>

        <style type="text/css">
            #container {
                position: absolute;
                width: 400px;
                height: 600px;
                bottom: 50px;
                left: 50px;
            }
        </style>
    </head>
    <body>
        <button onclick="openChat()">Open chat</button>

        <button onclick="closeChat()">Close chat</button>

        <div id="container">
        </div>
    </body>
</html>
5. Foire aux questions (FAQ)
Le module web ne s’adapte pas sur mobile, que faire ?
N’oubliez pas d’ajouter une balise viewport dans le <head>, de façon à ce que les proportions soient gardées sur mobile.
<meta name="viewport" content="width=device-width, initial-scale=1.0">Le widget s’affiche bien mais mon bot ne répond pas ?
Il se peut que votre bot ne soit pas activé ou alors que la configuration de votre projet web ne soit pas bonne. Dans un premier temps, vérifiez la bonne activation de votre bot ainsi que l’URL de votre site web. Si le problème persiste, consultez les logs de la console javascript dans votre navigateur.
Le chat ne s’ouvre pas automatiquement alors que j’ai configuré autoStart à true ?
Lorsqu’un visiteur arrive sur votre site pour la première fois, le paramètre autoStart est pris en compte. Si il revient sur votre site ou qu’il change de page, nous regardons en priorité s’il n’avait pas fermé le chat et, le cas échéant, nous laissons le chat fermé volontairement.
Je souhaite afficher le chat en plein écran
Vous pouvez positionner l’option fullscreen : true pour cela. Le header du chat ne sera pas affiché (nom / description du chatbot) et la bulle d’invitation à discuter non plus.
Par défaut, le chat s’affichera sur la totalité de la page. Si vous souhaitez l’intégrer à l’intérieur de votre page web afin d’y conserver des éléments essentiels tels que votre header / footer, vous pouvez pour cela coupler l’option fullscreen avec l’option container ou containerId de manière à ce que le chat s’intègre dans un élément de votre site que vous pourrez dimensionner à votre contenance.
Comment afficher le chatbot sur une seule page seulement de mon site ?
Pour cela, installez le tag seulement sur la page concernée (comme une image en somme). Le tag ne doit pas nécessairement être sur toutes vos pages. Dans le cas où vous utilisez Google Tag Manager par exemple, ajoutez une règle sur l’identifiant de la page, tout simplement.
Pour en savoir plus sur les personnalisations graphiques de votre chatbot web, comme la couleur du thème, les textes de présentation ou l’avatar veuillez consulter l’article suivant :
Comment personnaliser son Chatbot Web
En plus:
– Comment installer un chatbot sur WordPress
– Comment installer un chatbot sur Prestashop
– Comment installer un chatbot sur Shopify
– Comment installer un chatbot web avec Google Tag Manager
– Chatbotnation : Hébergement de ChatBot