
Botnation has a human escalation module by default. In short, when the chatbot shows its limits (because it does!), you can propose to transfer the discussion to a human, in the form of live chat. Several users have told us that they want to use live chat 100% of the time, without the chatbot automating the conversations.
⚠ Before going further, we clarify that this option is only available for web chatbots ⚠
We listened to them and deployed an advanced version of this feature. You must have noticed this when you went to the “Conversations” tab of your chatbot 😉
We are pleased to announce that Botnation is now a 360° conversational platform offering conversation automation (via the chatbot) and instant chat (on the live chat)!
In this screenshot, you can see on the left in the circle where :
- Your conversation history
- Managing the escalation to human
You can see that you are in the default mode, especially with the names of the users that are not filled in and the notes, functions that are only available in the Premium mode.
Below, we will discover the incredible new features of this advanced version!
Since March 2022, this feature has been available through any offer on Botnation. If you use an old offer (Pro/Expert/Elite/Elite+), then you need to update it.
Once this is done, we will update your account with the required number of licenses. Let’s go!
Consultant Management
Once your chatbot is open, go to the “Conversations” side tab.
Choose “Advisor Management”:

The first block is for the administrator account that holds the license. Let’s say you need 3 consultants, including yourself. We administer 3 licenses for you.

The number of licenses granted is displayed in the middle of the page:

Once you have invited your collaborators to participate in the chatbot by sharing the rights, you will see them appear in the second block “Your collaborators”.
To the right of each name, a pencil appears. Click on it to edit the information and rights:
- Name visible to users: choose the one you prefer
- Email is already present
- The avatar: upload an image.
- “Last activity” and “number of messages” will be updated by the system
- Licenses: click on the “Livechat Premium” box to grant a license (deducted from your quota)
- Enable the box “Show discussions where the chatbot has control” if you wish.
You can also decide to have your consultants only work on certain pages.

Each tab corresponds to a site on which the chatbot is connected. If you have only one site registered, as is the case here, then you will have only one tab.
Live chat configuration
After publishing your chatbot, you will notice that a new tab has appeared with the name of your chatbot:
For the moment, the conversations are anonymized, as on the standard version. We will see how to customize this workspace.
Assign a first name variable to chat users
You’re up and running! The licenses are activated on the advisors, you just have to wait for the conversations to start.
When configuring the chatbot, we advise you to ask for the user’s first name in the first sequences and to capture this information in a variable of type {{PRENOM}} or {{SOCIETE}}. This will allow you to display the first name of your contact person or the company name, which is a great advantage when you manage several tickets.
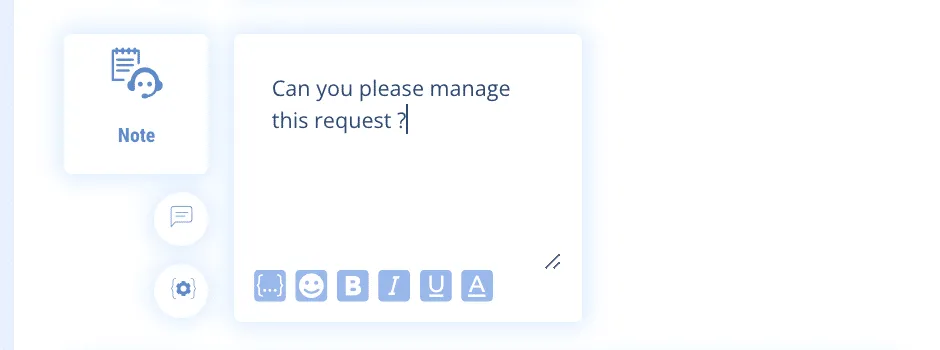
Then, click on the small cogwheel, visible on the picture above. This will show you the pseudonym settings:

Click on the variables symbol {…} below the text box and choose your variable {{PRENOM}} :
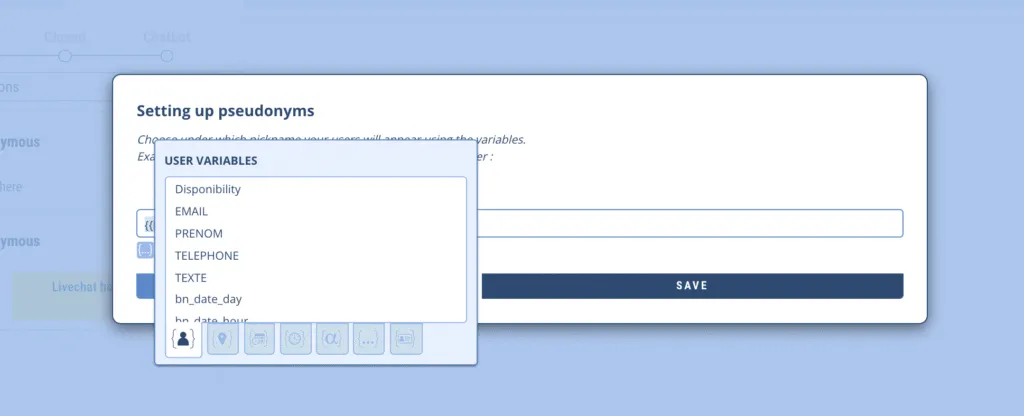
Then save.
Now let’s wait for the conversations…
Start an instant chat
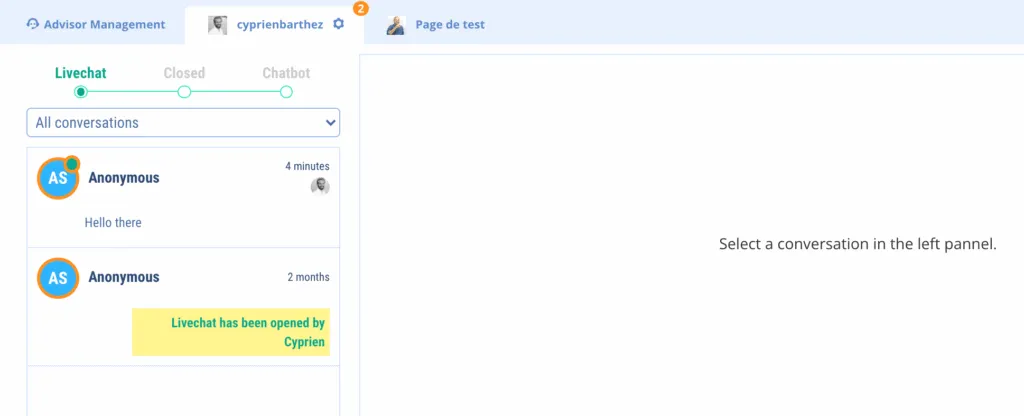
When a transfer to the human is required by the user, you will receive an email and also a notification in your Botnation space. This notification is materialized by a small number in orange showing the number of conversations to be processed.

It looks like 2 people want to talk to us! These people have also filled in their names and they are brought up by the chatbot:
When a user activates the live chat, you will receive an email at the address you entered:
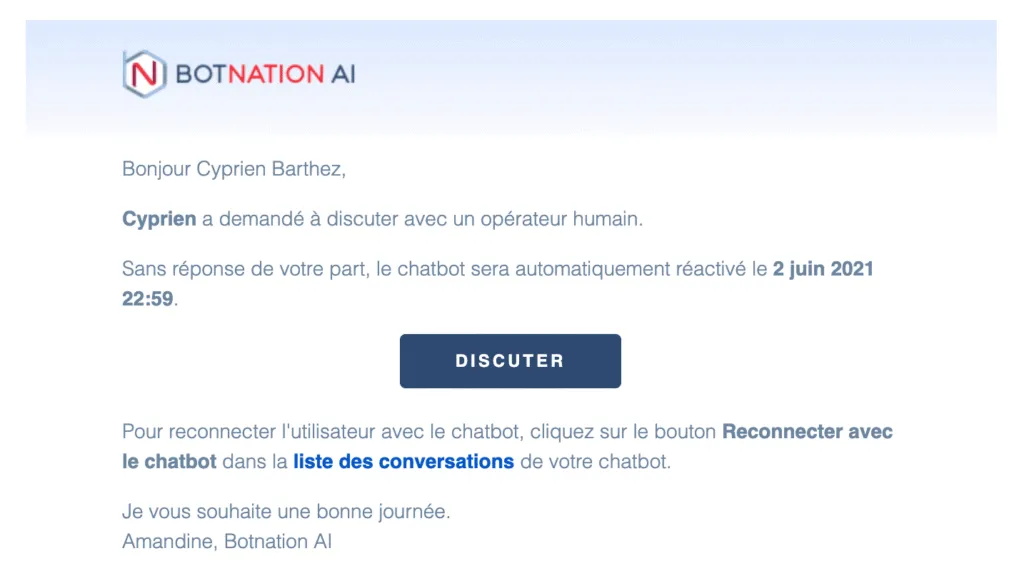
Also, a browser notification will let you know. Remember to accept that Botnation sends you some in your browser.
Finally, each time a counselor receives a message, an audible notification will alert you.
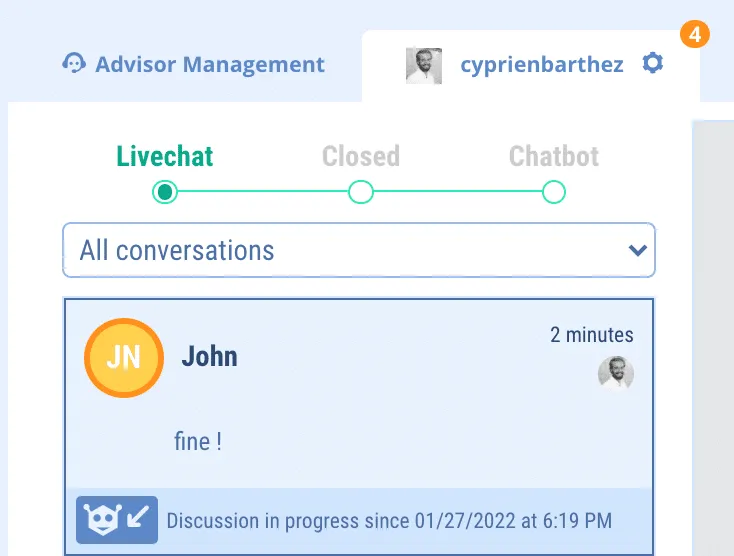
The main menu
You can also see that the first green dot “Livechat” displays the live chat conversations. The second, “Closed”, will show you the closed conversations and the third, “Chatbot”, the automated chats of the chatbot allowing access to the history.
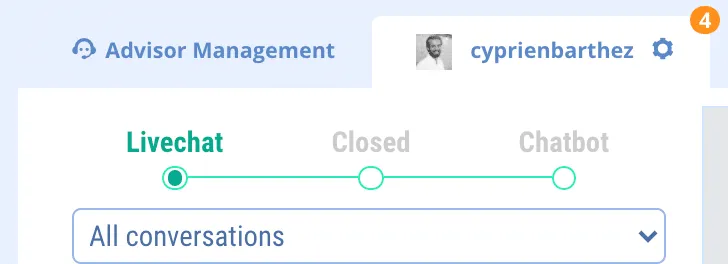
The drop-down menu just below offers to display :
- All conversations
- Unassigned conversations
- Unread conversations
- My conversations
By clicking on the desired conversation, the details are displayed on the right panel. You now have access to your user’s application.
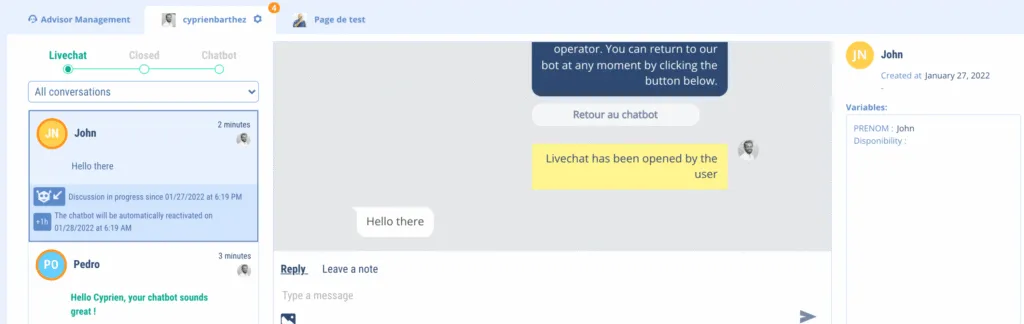
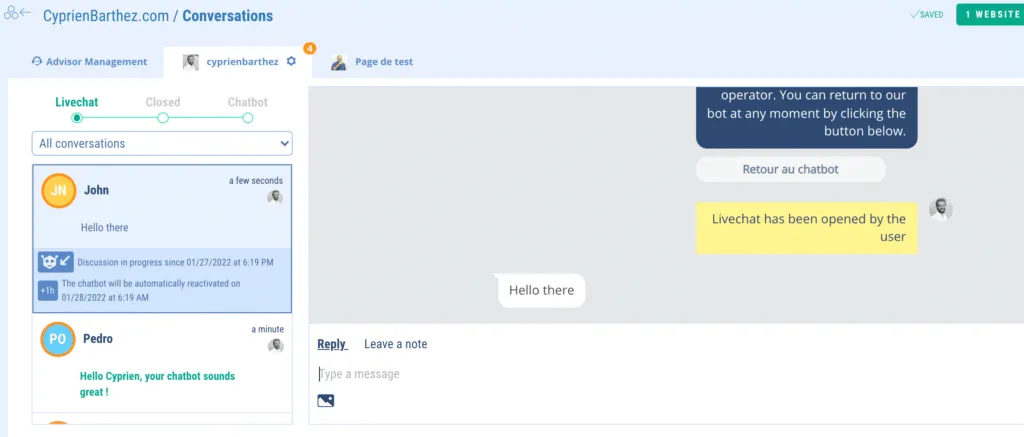
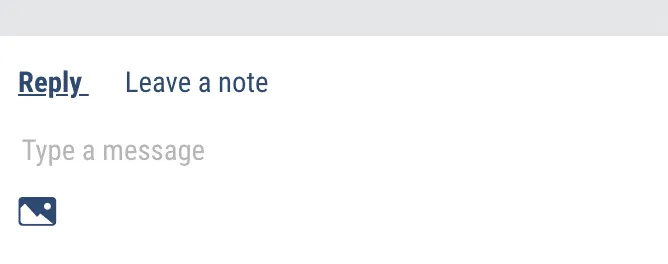
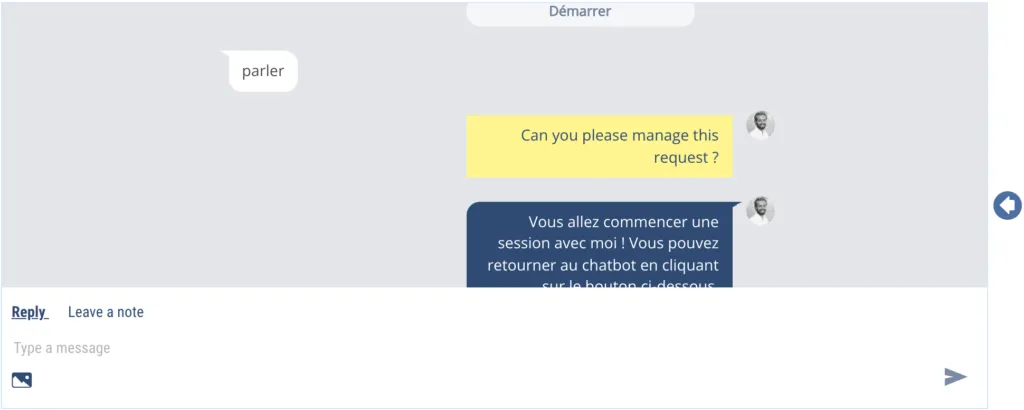
Leave a note
The message in yellow (1) is a note left by your collaborators. It is visible only to them and you. The user does not have access to it. This is very convenient to leave information to your colleagues!
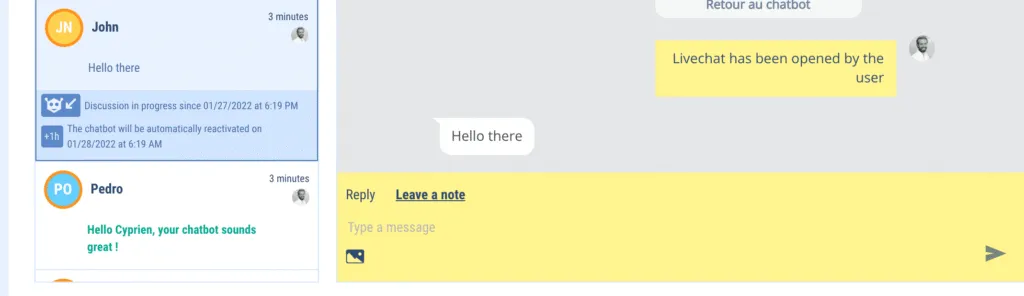
Responding to a caller
The caller’s message appears in the white text boxes (2). To reply, go to the text box (3), type your message and click on the “send” symbol. To leave a note, click on “Leave a note” (4). The text box appears in yellow to confirm that it is this private space.
Color code
In order to make it easier for you to handle large volumes of simultaneous conversations, we have introduced a color code:
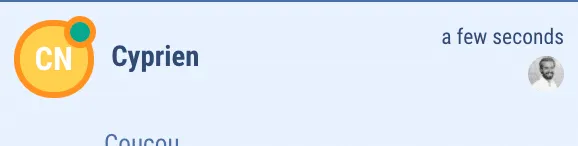
- The user’s dot is green when the user is logged in.

The outline of the dot is orange on the avatar when the message has not been answered.
When a message is unread, it appears in green.
Send images
To send an image, click on the corresponding symbol below the text box.
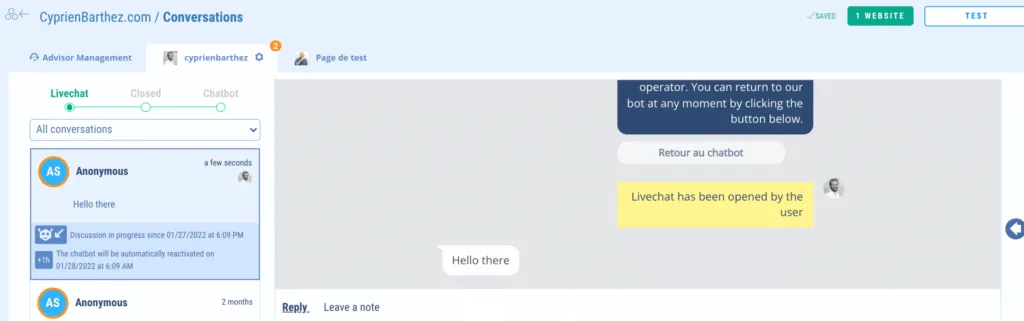
The conversation on the user side
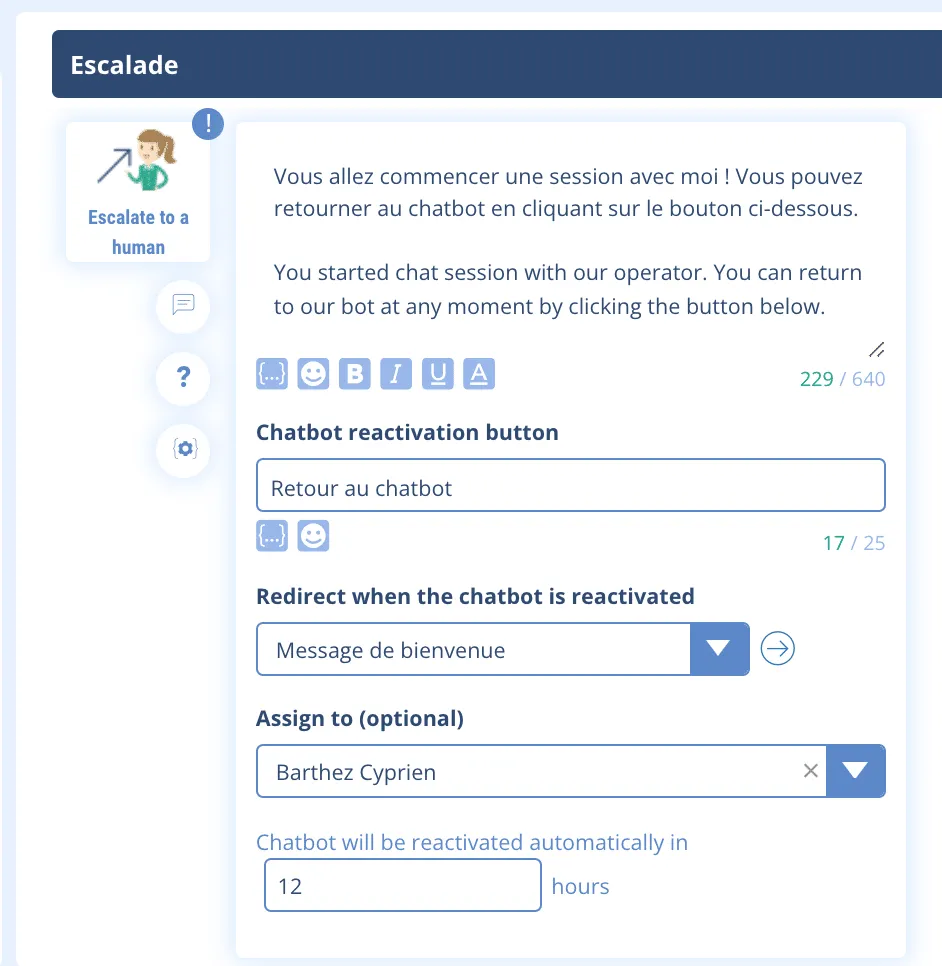
Your users will receive the answer instantly. Here is an example of what they will see:
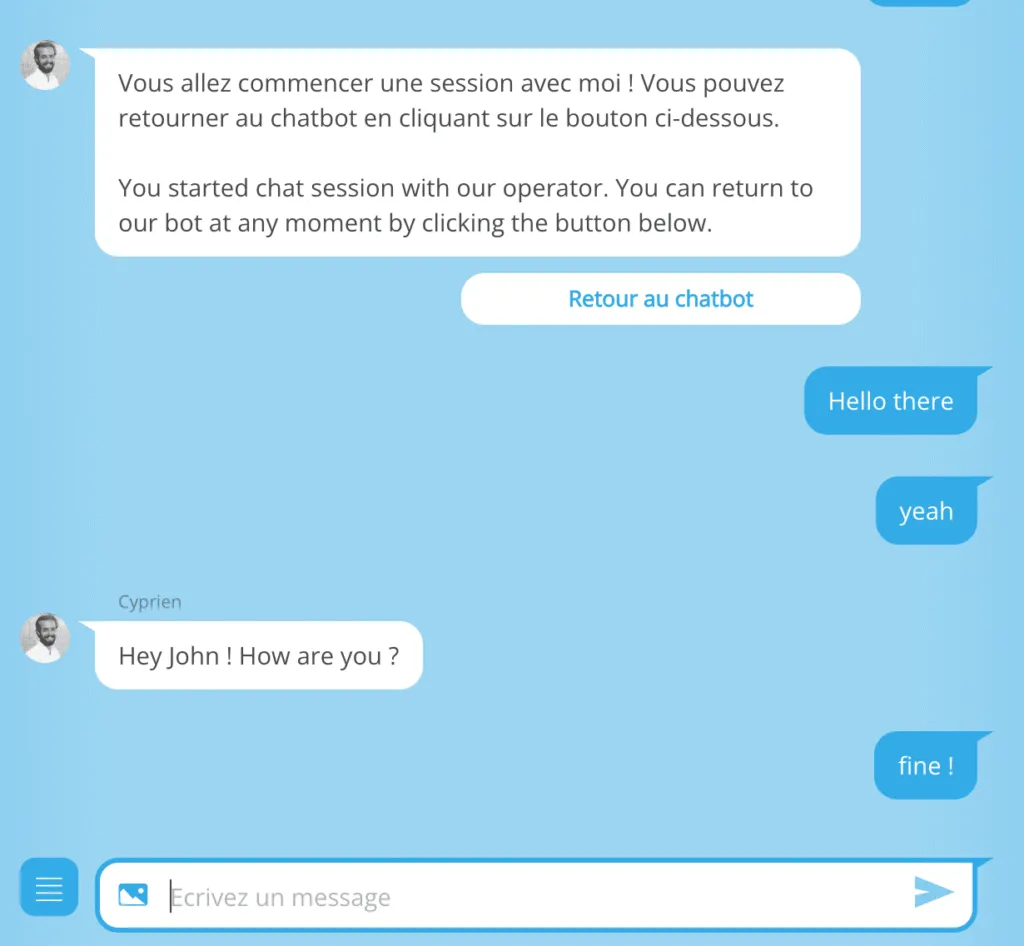
When the user wants to return to the chatbot, he will click on the button provided for this purpose (which you have previously configured in the escalation to the human). For example, this is the “Back to chatbot” button. Then, the chatbot’s sequences will unfold as you have programmed them.
Closing a conversation
On your side, you can close the conversation when you consider it finished.
If you made a mistake, don’t panic! It’s not irreversible 😉
Choose the “Closed” button to access the accidentally closed conversation, then click on the icon at the bottom left and confirm the operation. The conversation will be active again in “Livechat”.
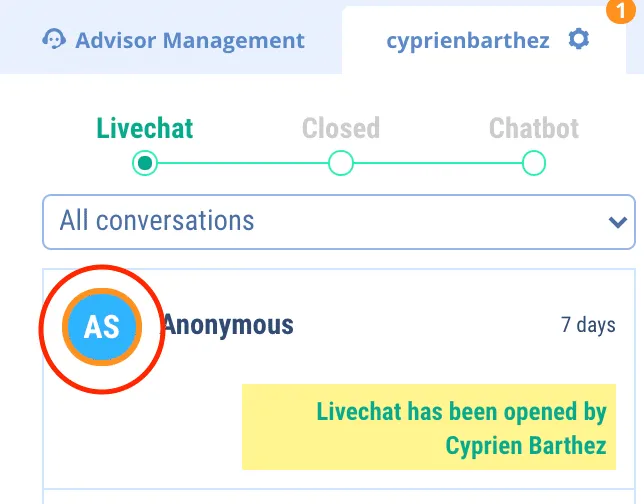
Display user variables
The side panel opens with the white arrow (circled in red in the screenshot) and displays the user’s variables. Feel free to add his number of sessions, his email or any other useful data.
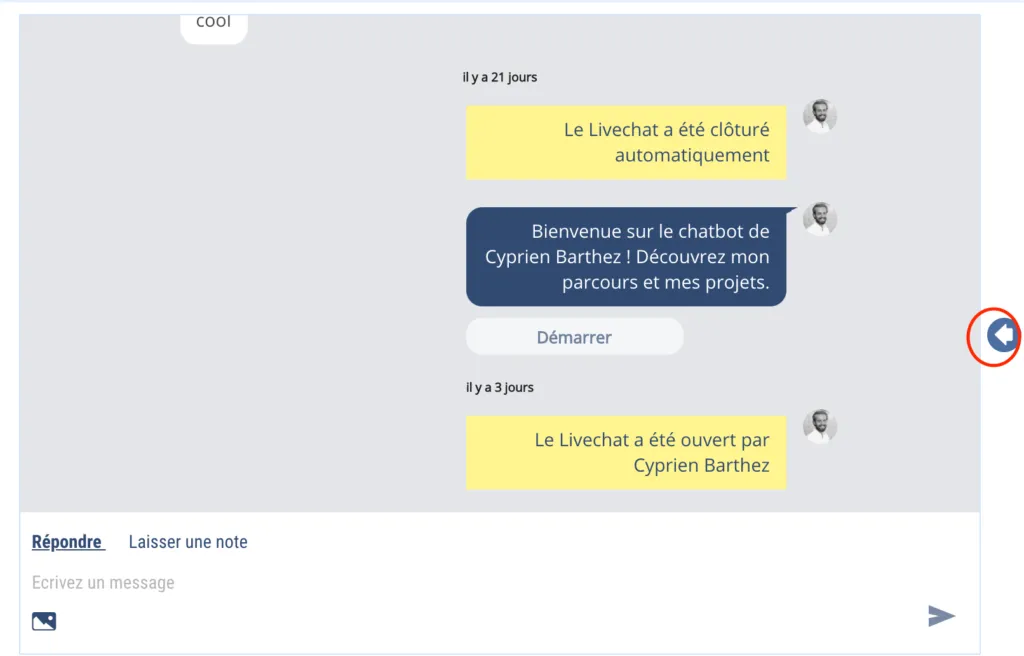
Side panel:
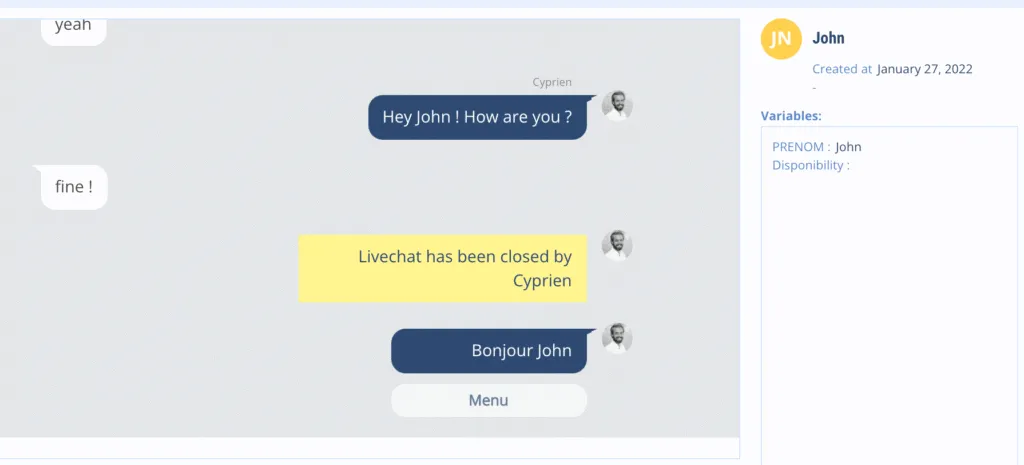
Assign a conversation to an advisor
As a general rule, when an advisor takes a conversation, it is automatically assigned to them. Then, each advisor can find his or her current discussions via the drop-down menu provided for this purpose. He can also find those of his collaborators.
When configuring the transfer sequence to the human, Botnation optionally offers you to automatically assign the conversation to an advisor.
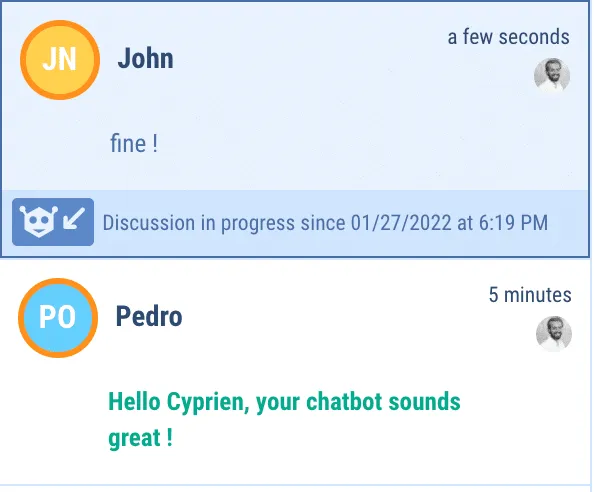
The advisor’s avatar appears in the conversation window at the top right when the conversation is assigned to him/her:
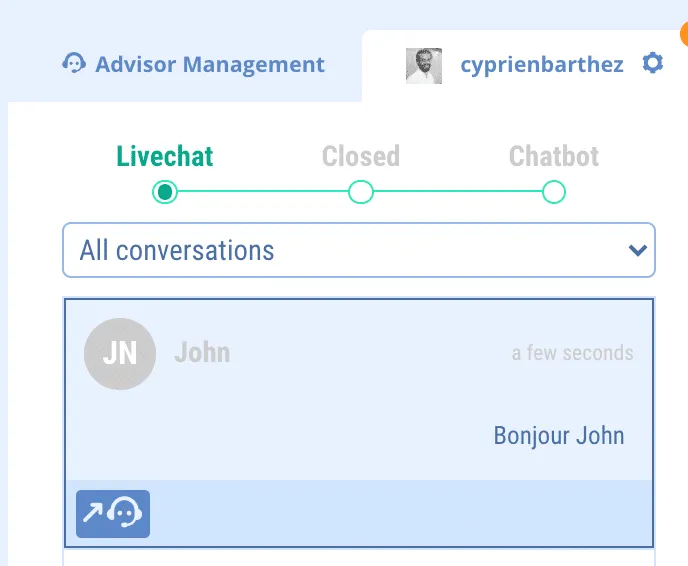
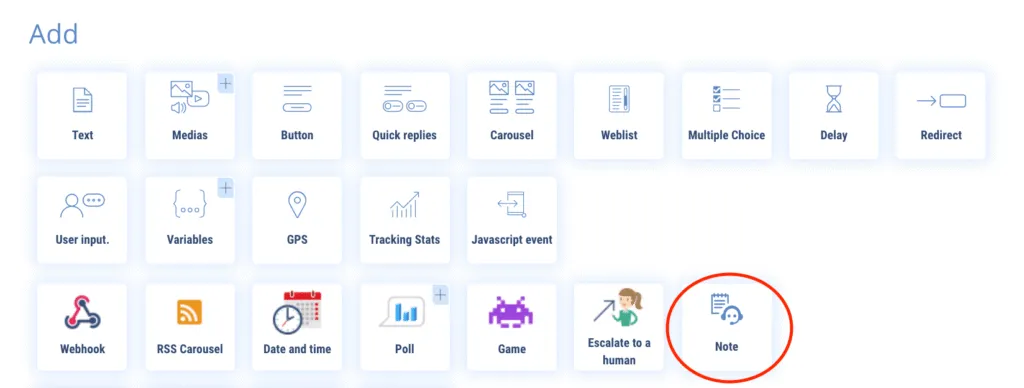
Add an automatic note
In the Botnation functions present on each sequence, we have added the possibility to leave an automatic note for the advisor.
When the conversation starts, the note will appear in the conversation on the advisor side:
You’re ready to get started! This advanced version of the basic module will allow you to efficiently manage dozens and dozens of simultaneous conversations with multiple consultants.
Any questions? Any advice? Any feedback? Join our private discussion group 😉